
This is a project I decided to document after trying to look it up on Pinterest and realizing THERE IS NO TUTORIAL. It doesn't exist. Unless I was just using the wrong search words, but that's probably not the case because I'm good at picking search words and I tried a few different combinations. Instead of losing heart, I pioneered ahead and decided to figure out how to do it on my own and document what I've learned along the way.
This is how to make a skirt BIGGER.
This could be useful if a skirt you own is slightly too small for you, or if (like me) you need to transform a regular skirt into a maternity skirt.
Another thing to note: it's a good idea to have a general idea of how to make an elastic waistband before attempting to follow these directions, because I don't go into that part very in-depth. There are plenty of elastic waistband tutorials online.
Here we go:

You will need a sewing machine, fabric scissors, and elastic. I also used a rotary cutter at one point but scissors work fine. You will ALSO need a small amount of extra fabric that closely matches the color of your skirt. You don't need a lot though, so don't go out fabric shopping if you have old fabric scraps lying around.

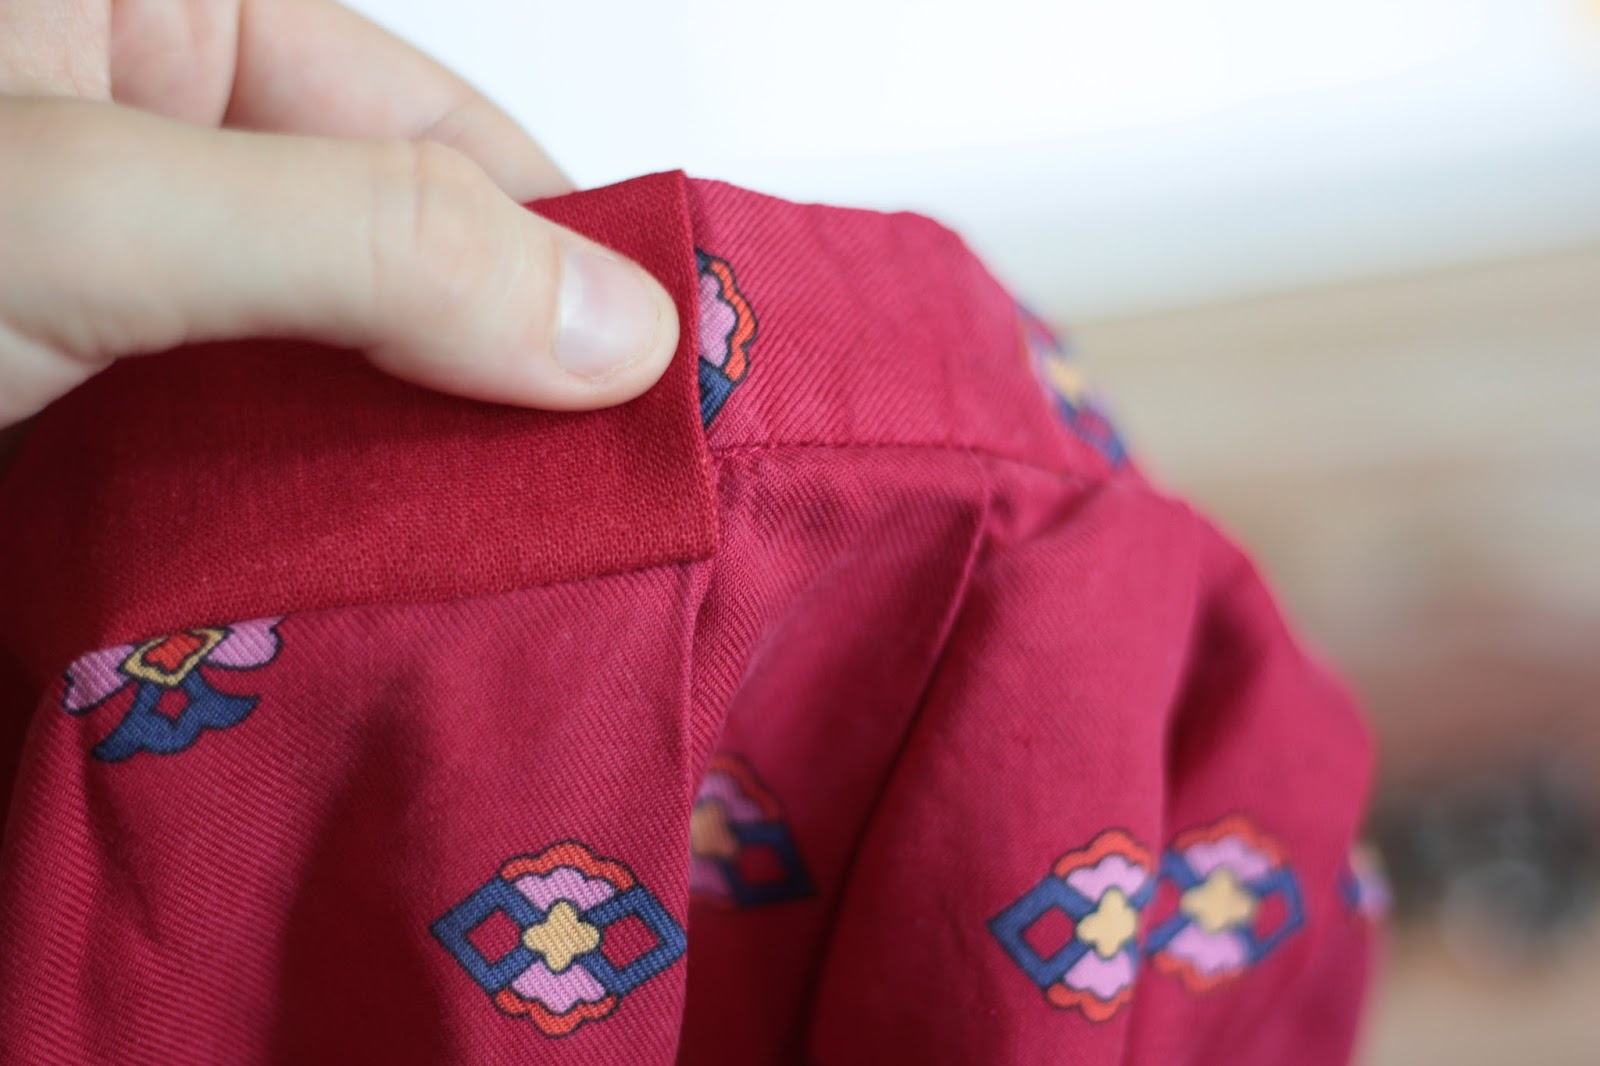
Here is the skirt I used. As you can see, it has a fitted waistband. Not for long...

On the back of the waistband, mark out an area of about 8 inches or so in the center.

Cut into the waistband on one side, as shown above, and then begin cutting along the edge of the waistband until you have removed the entire 8 inch portion.

As you can see, since this was a pleated skirt, the pleats will start to unfold, making the skirt widen a lot. This is good. Don't freak out that it's getting TOO wide, we're gonna wrassle most of that back in later.

This is the portion of the waistband that was removed. Use it as a loose guide when cutting your piece of elastic. Your elastic should be cut to this length PLUS THE AMOUNT OF ROOM YOU WANTED TO ADD TO THE SKIRT'S WAISTBAND, be that an inch, two inches, whatever.

Here is where your extra fabric comes into play. I tried to use a fabric that closely matched the skirt, so as to not draw attention to the area. As you can see, it's not a lot of fabric. I cut it to the length of the now open and un-pleated part of the skirt where I cut out the waistband, PLUS ABOUT THREE INCHES. The exact length of this strip will be different for you depending on your skirt and how pleated and everything it was.

Pin the strip of fabric onto the top of the skirt, good sides facing together, lining up the top edge.

In the above picture, I'm trying to demonstrate that there should be an overhang of fabric, (the plus three inches I was talking about two pictures back). Now, sew down the length of your fabric strip where you pinned it to attach it to the skirt, leaving that overhanging part flappy and free.

Now you can definitely tell I am not a perfectionist. Anyway, the strip is folded down and you'll want to sew the bottom of it down, leaving an open space at both ends to access your elastic (as I try to demonstrate above). You're creating a sort of tunnel for the elastic to go into. If you followed my advice and looked up elastic waistband tutorials, you'll know what I'm talking about. Once that's done, you can shimmy the elastic into the tunnel, and sew the ends of the elastic securely into both ends of the tunnel to keep it in place.

Using elastic thread in the bobbin to stitch a new flex-size waist works, 3-4 rows of eladtic stitching horizontally on fabric for the waist.
ReplyDeletemust stitch over both ends of it to anchor the elastic stitching in or it unravels.